Eclipse Configuration for ELKI
Eclipse is the main development environment for ELKI, and thus the best supported.
- Install a Java 8 JDK (Java 11 should be fine, if you bump the version number in build.gradle; Java 17 currently does not work with Gradle yet)
- Install a recent version of Eclipse.
- On GitHub either “fork” the project (to have your personal writable copy) or use the read-only clone uri:
https://github.com/elki-project/elki.git -
In Eclipse, Import from Git, Clone URI.
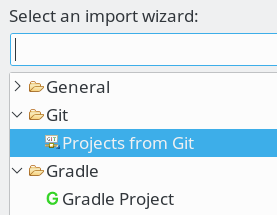
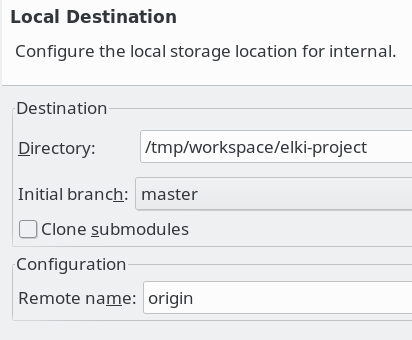
Choose a destination folder - we usually do keep this in the Eclipse workspace folder rather than the Eclipse suggestion. Import as “general project”.
-
Right-Click the project, and choose “Configure”, “Add Gradle nature”. You should see many more projects appear.

-
Optional: In “Gradle Tasks”, choose “elki-project, ide, eclipse”. This will install some code formatters and templates. Refresh the project afterwards.
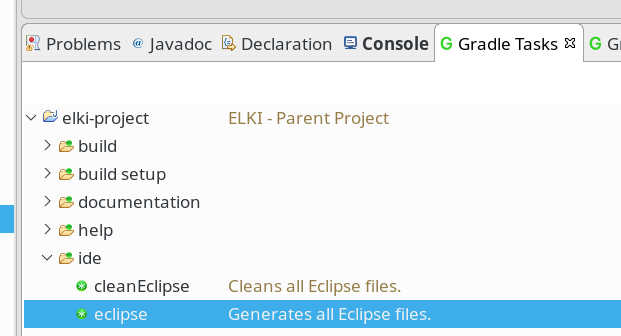
(If you do not have the “Gradle Tasks”, you can open it via “Window, Show View, Other …”)
-
You can now run the ELKI MiniGUI:
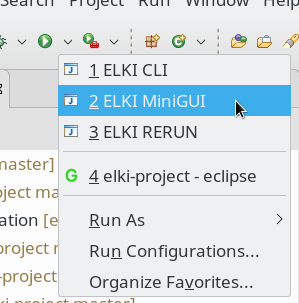
If the entry is not yet in the dropdown, choose “Run Configurations …” and it should be in the “Java Application” category.